The secret to controlling condensation
Save time and money with ArmaFlex installation techniques and know-how
Known for its highly flexible nature, Armacell's insulation solutions can be easily and neatly installed on hot and cold applications pipes and ducts. With correct installation techniques, you can save time, reduce wastage and prolong the insulation performance efficiency.
Discover more tips from installation experts, common mistakes to avoid and tools to speed up your ArmaFlex installation process.
Know-how for proper installation
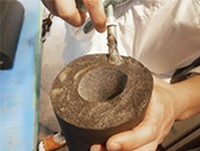
Even application of the adhesive
It is important to apply a thin and even layer of ArmaFlex adhesive. This simple and easily overlooked step can cause condensation due to non-uniform adhesion.
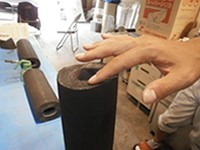
Check the adhesive tack
Do not adhere the materials immediately after applying adhesive. There is a short waiting period to ensure that there is the right level of tackiness.
Bond time
Depending on the environmental conditions such as temperature and humidity, the minimum drying (airing) time and contact adhesion time can vary. Experience is key here. After applying adhesive on the surface, wait for a few minutes. Then, test if it is ready for bonding by lightly touching the surface with your fingernail. If it does not stick to your nail, you may proceed to join the surfaces.
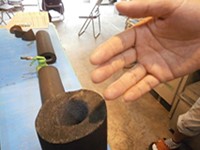
Excellent adhesion
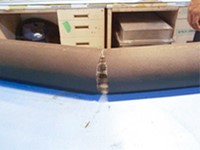
If a skilled installer is working with ArmaFlex, there will be a firm seal as shown in this photo. This means that the product will not be broken at the seam even when pulled.
Common mistakes during installation
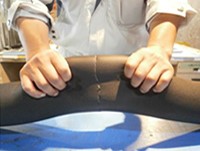
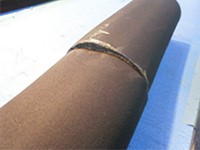
Premature adhesion
If the material is adhered immediately after applying the adhesive without waiting, the material will not stick well and can be easily pull apart as shown in this photo.
Misalignment in bonding surface
It is also a common mistake that the bonding surface moves and becomes misaligned. With experience, you will be able to bond quickly and neatly.
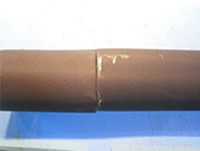
Overflowing adhesive from the joints
Applying too much adhesive will cause an overflow and the adhesive will ooze out from the joined areas, making this a bad installation.

Presence of a gap
To achieve a continuous and well-adhered seam, the ArmaFlex material should be handled with care. Cut the material with a sharp knife and adhere firmly to ensure that there are no gaps.
Tools for proper installation
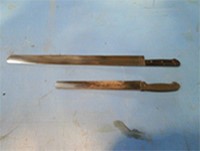
ArmaFlex knife
A knife dedicated for cutting ArmaFlex. Make sure the knife is sharpened before cutting the material.
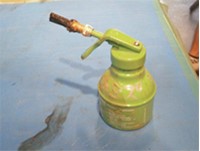
ArmaFlex adhesive
A uniquely formulated adhesive to support the seamless bonding of ArmaFlex materials. Discover more about our adhesives here.
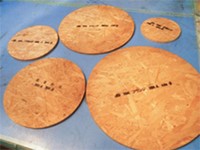
Flange template
This template is used when installing flanges. There are multiple templates.
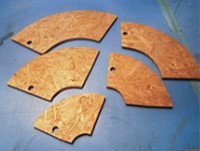
Elbow template
This template is used when installing elbows. There are multiple templates.
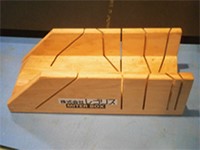
Cutting guide
A cutting guide used for cutting ArmaFlex at various angles.
How to use the cutting guide
Cutting ArmaFlex while using the guide.